Raspberry Ripple Ice Cream: A Classic Soft Dessert Magic
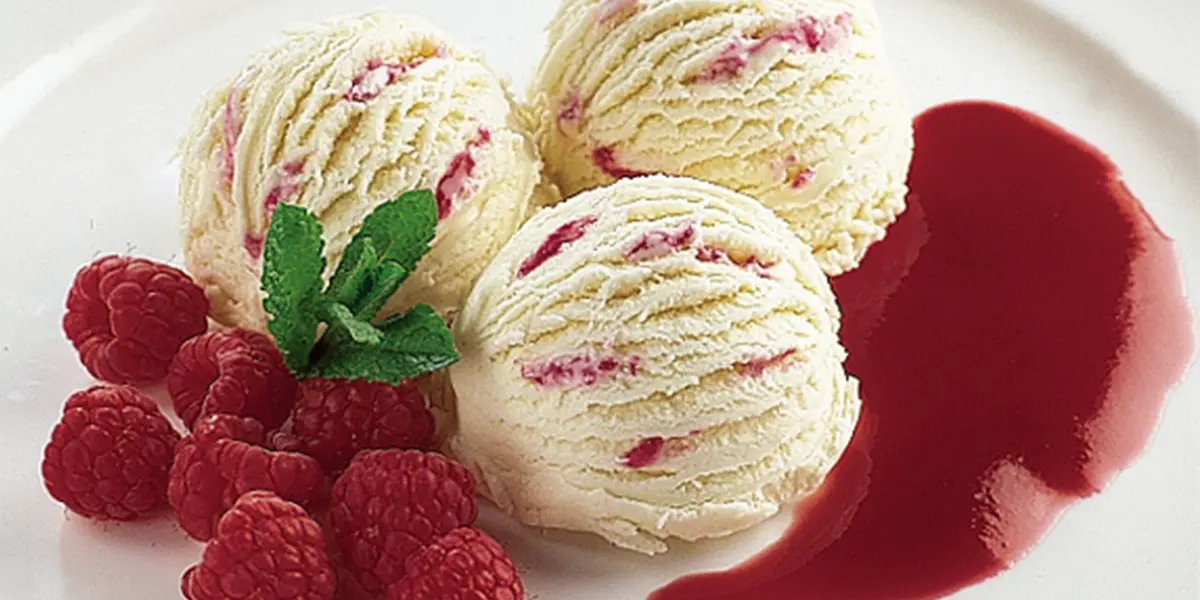
The Magic of Raspberry Ripple Ice Cream Few desserts capture the spirit of summer like raspberry ripple ice cream. With its striking pink swirls of tart raspberry sauce folded into creamy vanilla ice cream, this treat is as beautiful as it is delicious. It’s a nostalgic flavor that reminds many of childhood, ice cream vans, … Read more