Cumberland Sausage Recipe: A Traditional, Juicy, and Flavor

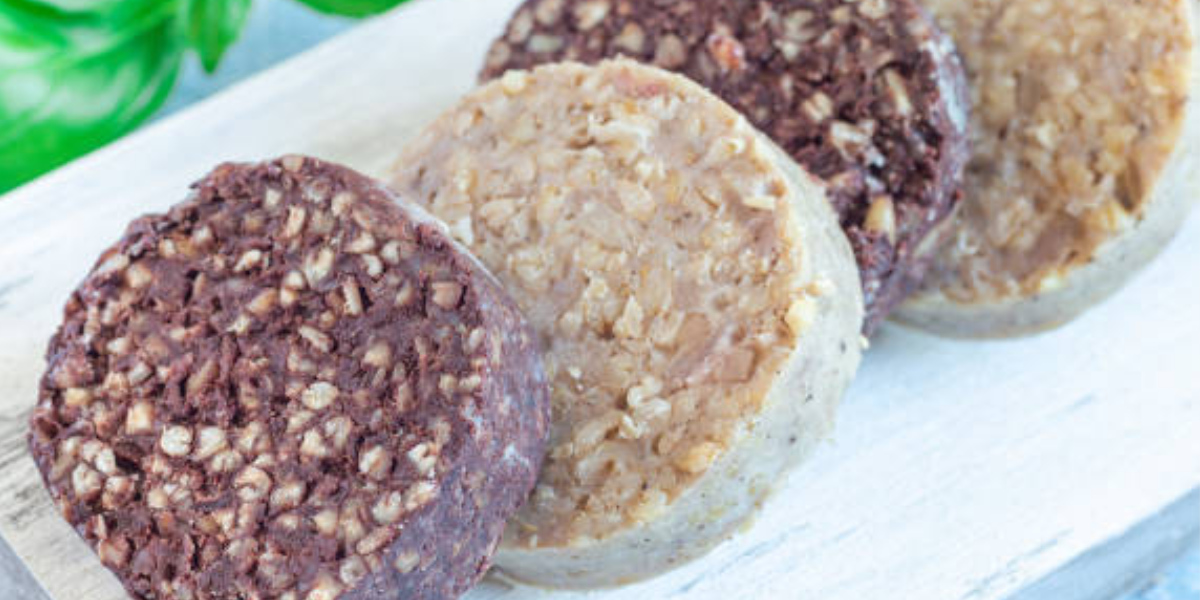
If you’re looking for the most authentic and flavorful cumberland sausage recipe, you’re in the right place. This iconic spiral-shaped sausage from North West England is known for its peppery kick, coarse texture, and unbeatable aroma. Whether you’re preparing a big weekend breakfast or planning a hearty dinner, homemade Cumberland sausage offers a freshness and … Read more