Traditional Shepherd’s Pie Recipe UK – Classic British Comfort Food
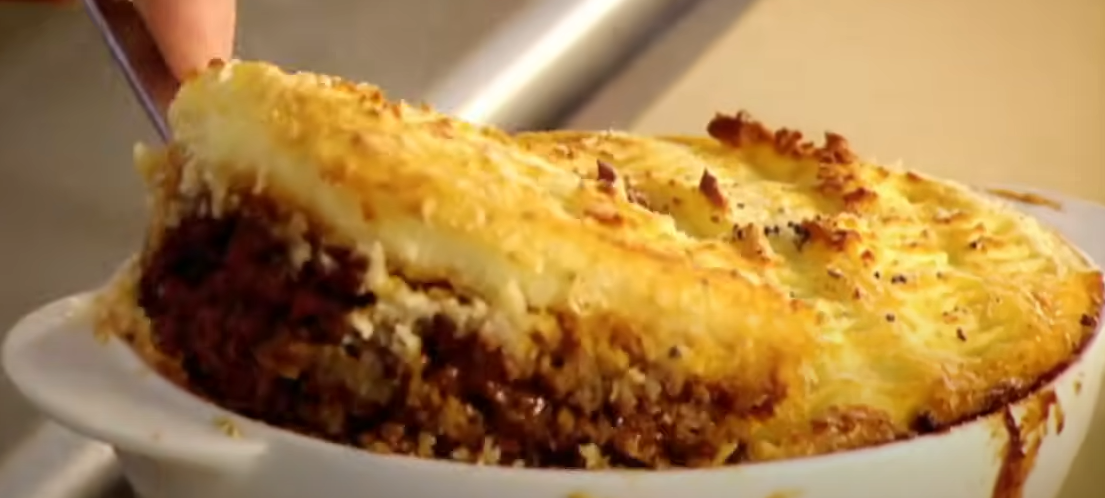
Introduction: What is a Traditional Shepherd’s Pie? A Traditional Shepherd’s Pie is a beloved British dish made with minced lamb, simmered in a savoury gravy, topped with fluffy mashed potatoes, and baked until golden. It’s the ultimate comfort food – hearty, warming, and budget-friendly. Whether you’re after a quick weeknight dinner or a Sunday classic, … Read more