Vegan Sweet Potato Pie: A Creamy & Comforting Dessert for Every Occasion
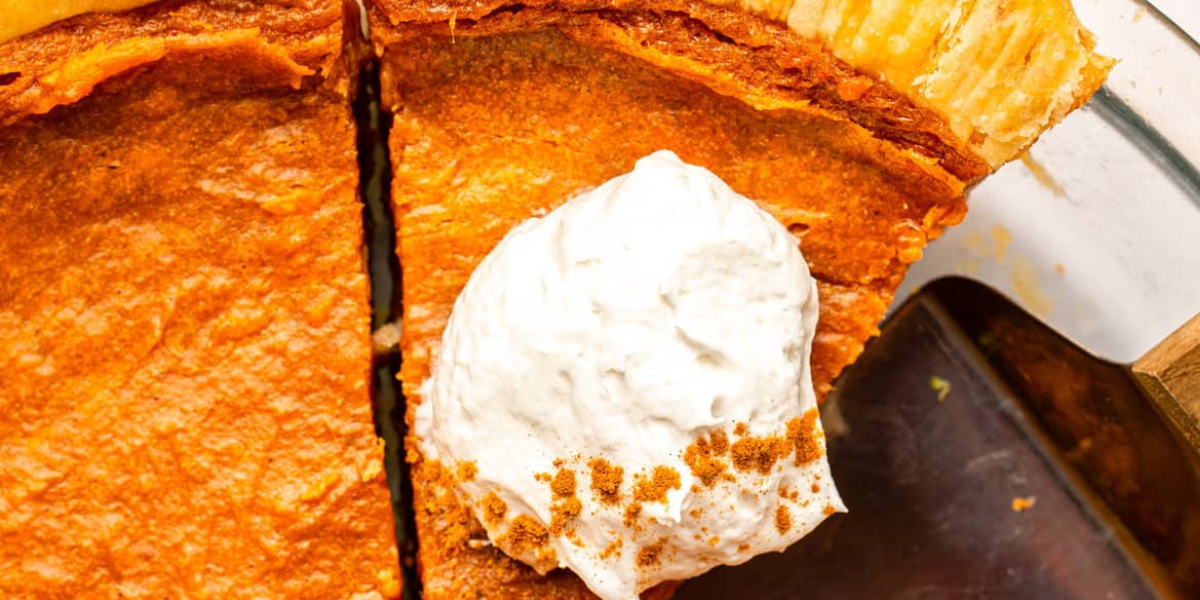
If you’ve ever craved a slice of rich, creamy, and perfectly spiced comfort, this vegan sweet potato pie is your next must-try dessert. Whether you’re celebrating the holidays or just want a wholesome treat, this recipe brings together the heartwarming flavors of traditional sweet potato pie — without any dairy or eggs. Made with simple … Read more