Perfect Lemon Meringue Pie Recipe UK
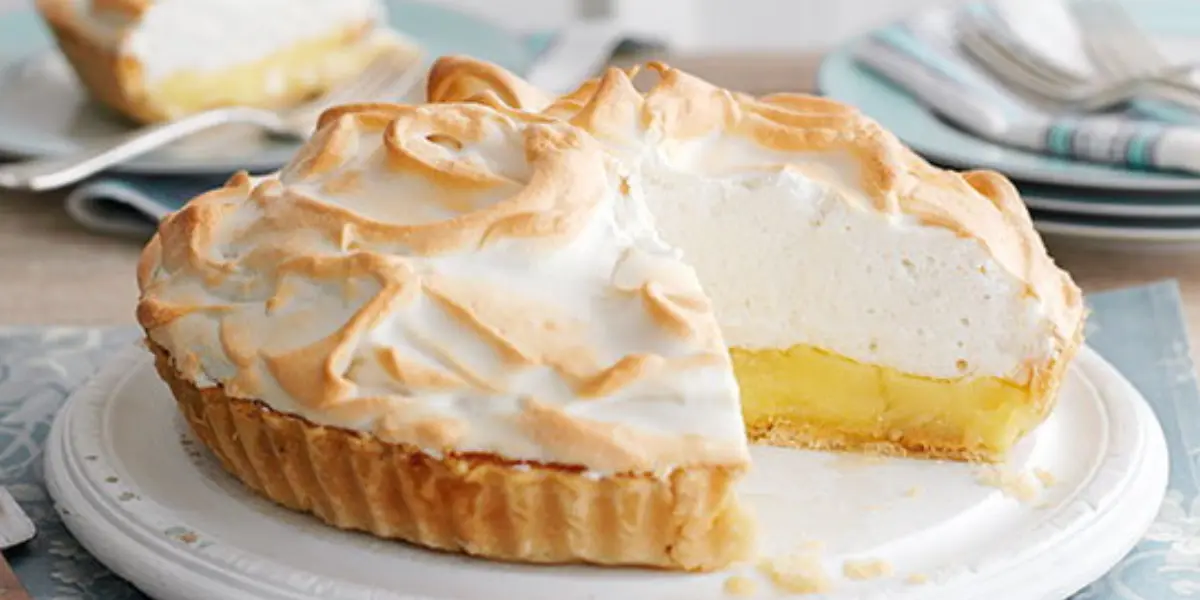
If you’re searching for the best Lemon Meringue Pie recipe, you’ve come to the right place. This classic British dessert combines a buttery shortcrust pastry base, a tangy lemon curd filling, and a cloud of soft, golden meringue on top. Whether you’re baking for a Sunday lunch, afternoon tea, or a special occasion, this lemon … Read more