Easy Mary Berry Lemon Drizzle Traybake
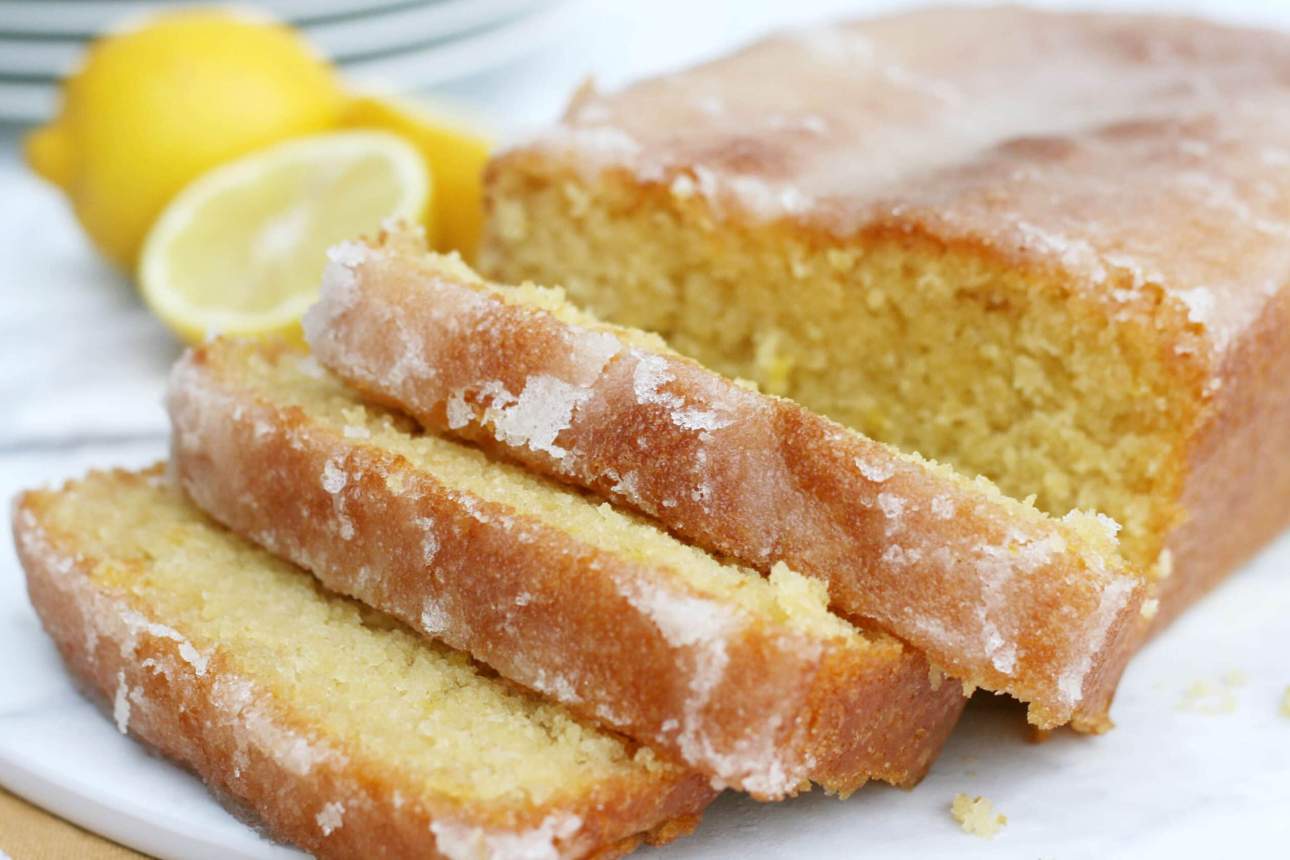
If you’ve been searching for a bright, flavourful bake that always turns out perfectly, this Easy Mary Berry Lemon Drizzle Traybake is the answer. Loved for its soft sponge and intense lemon flavour, this bake is ideal for afternoon tea, celebrations, or simple weekday treats. Using classic techniques inspired by Mary Berry’s timeless method, this … Read more