Introduction
Who doesn’t love a delicious and hassle-free recipe that can be whipped up in no time? Today, I’ll be sharing with you an incredible recipe for easy lemon chicken with rosemary potatoes. This succulent dish combines zesty flavors of lemon and fragrant rosemary with tender chicken and crispy potatoes. Whether you’re cooking for your family, hosting a dinner party, or simply treating yourself to a flavorful meal, this recipe is a must-try!
Ingredients
To prepare this delightful dish, you’ll need the following ingredients:
- 4 boneless, skinless chicken breasts
- 4 medium-sized potatoes, cut into wedges
- 2 lemons, juiced and zested
- 3 tablespoons of olive oil
- 2 tablespoons of fresh rosemary, finely chopped
- 4 cloves of garlic, minced
- Salt and pepper to taste
Instructions
Step 1: Preparing the Marinade
- In a bowl, combine the juice and zest of both lemons, olive oil, minced garlic, chopped rosemary, salt, and pepper. Mix well to create a fragrant and tangy marinade.
- Place the chicken breasts in a shallow dish and pour the marinade over them, ensuring they are evenly coated. Let the chicken marinate for at least 30 minutes to allow the flavors to infuse.
Step 2: Roasting the Potatoes
- Preheat your oven to 400°F (200°C).
- In a separate baking dish, arrange the potato wedges in a single layer. Drizzle with olive oil and season with salt, pepper, and a sprinkle of rosemary.
- Place the dish in the preheated oven and roast the potatoes for about 30-35 minutes until they are golden brown and crispy. Make sure to give them a gentle toss halfway through to ensure even cooking.
Step 3: Cooking the Lemon Chicken
- Heat a large skillet over medium-high heat and add a tablespoon of olive oil.
- Once the skillet is hot, carefully place the marinated chicken breasts into the pan. Cook for approximately 6-8 minutes per side until they are golden brown and cooked through.
- Ensure the chicken reaches an internal temperature of 165°F (75°C) for safe consumption.
- Remove the cooked chicken from the skillet and let it rest for a couple of minutes before slicing.
Serving and Enjoying
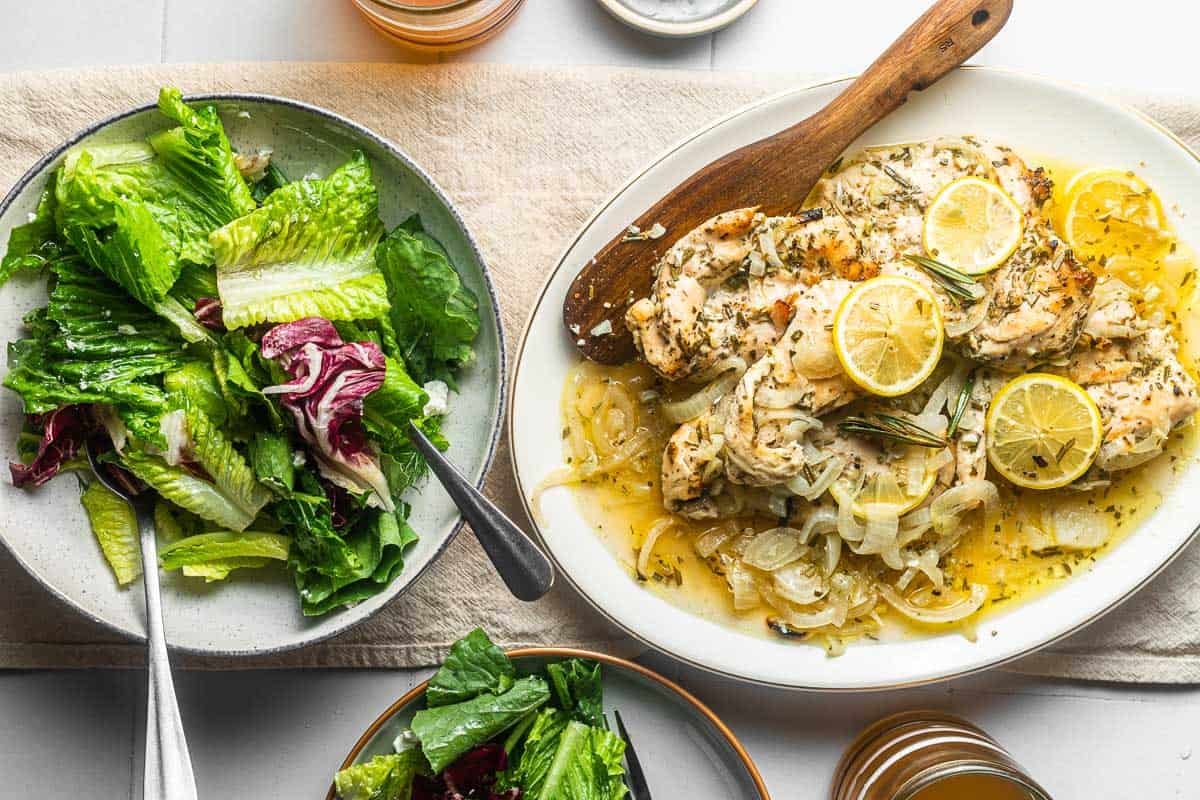
Lemon Chicken with Rosemary Potatoes Recipe
Now that you have prepared both the lemon chicken and rosemary potatoes, it’s time to serve and indulge in this delectable meal. Place the flavorful chicken breasts on a plate alongside a generous serving of crispy rosemary potatoes. Sprinkle some fresh rosemary and a squeeze of lemon juice over the chicken for an extra burst of flavors.
Pair this delightful dish with a side salad or some steamed vegetables to complete the meal. The tangy lemon and earthy rosemary perfectly complement the juicy chicken and crispy potatoes, creating a symphony of flavors that is sure to satisfy your taste buds.
Invite your loved ones to savor this savory delight, and watch as their faces light up with joy at the first bite. Remember, cooking is all about sharing and creating beautiful memories together in the comfort of your own home.
Enjoy this easy lemon chicken with rosemary potatoes recipe and let the flavors transport you to a culinary paradise!