Maryland Cookies Recipe Crispy, Golden & Packed with Chocolate Chips
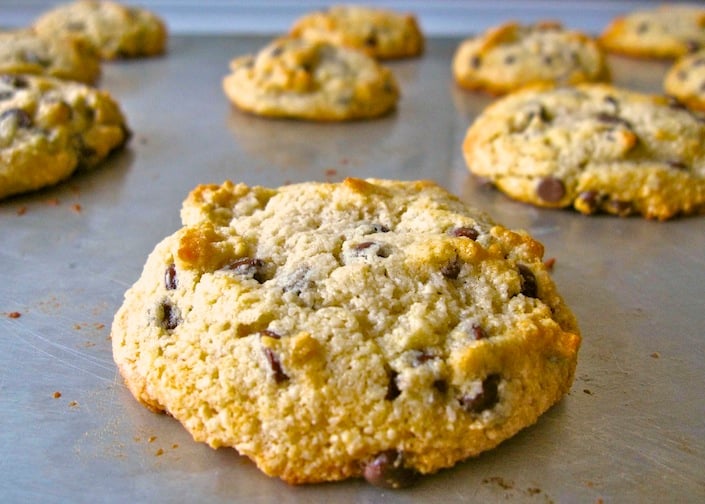
There’s something oddly comforting about Maryland cookies. You know the ones — crunchy, chocolate-speckled, slightly sweet biscuits that crumble just enough to make a mess (but in a good way). They’re the sort of cookie that has quietly survived generations of kitchen trends without ever needing a glow-up. And honestly, there’s a reason for that. … Read more